Dealing with iOS 17 Beta: How to Remove It from Your Device
4 min read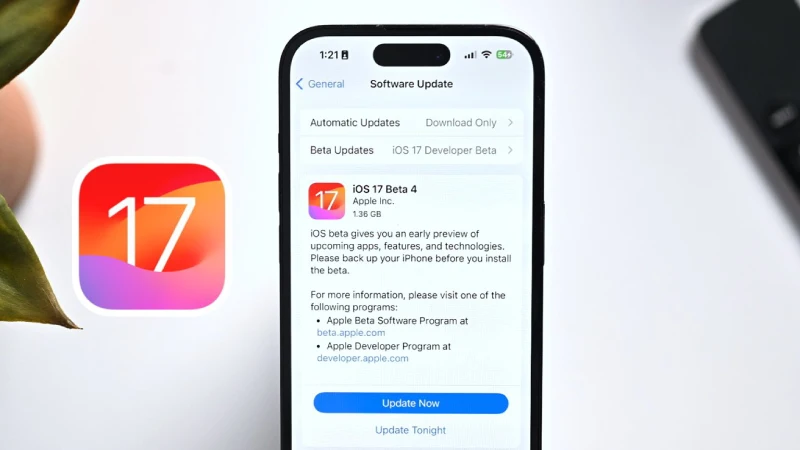
Are you facing iOS 17 Beta issues and looking for a comprehensive iOS 17 Beta removal guide? You’re in the right place! This guide will walk you through the iOS 17 Beta removal process, step by step. To begin, we’ll cover how to uninstall iOS 17 Beta and remove the iOS 17 Beta profile from your device.
After that, we’ll discuss the essential iOS 17 Beta downgrade steps and the tools you might need. If you’re eager to revert from iOS 17 Beta to a more stable version, this guide will provide the information you need. We’ll also delve into the iOS 17 Beta uninstallation process, addressing potential problems and solutions along the way. Plus, don’t forget to stay informed about the latest iOS updates to keep your device running smoothly.
Leaving the iOS 17 and iPadOS 17 beta programs is a straightforward process, and it prevents future beta updates from appearing on your device. You can also easily switch back to participating in the beta programs whenever you like. In this guide, we’ll walk you through the steps to leave these beta programs.
It’s important to note that leaving the beta program won’t remove any beta system software already installed on your device; it simply stops future beta updates from being delivered to your iPhone or iPad. This applies whether you’re part of the developer beta program or the public beta test program.
Table of Contents
Why Remove the iOS 17 Beta?
While participating in the iOS 17 beta program can be exciting, it’s not uncommon to want to switch back to the stable version for various reasons. Beta versions, by their nature, tend to be less stable, potentially causing compatibility issues with apps, reduced battery life, or unexpected Technical glitches. Returning to the stable release ensures a smoother and more reliable user experience.
How to Leave iOS 17 Beta / iPadOS 17 Beta Program on iPhone or iPad
Leaving either beta program involves removing the beta profile from your device. Here’s how you can do it:
- Open the “Settings” app on your iOS device.
- Go to “General” and then select “Software Update.”
- Tap on “Beta Updates,” and then toggle the switch to the “OFF” position.
With beta updates disabled, your iPhone or iPad will only receive final stable versions of iOS 17 and iPadOS 17 in the future.
For instance, you will see iOS 17.0.2/iPadOS 17.0.2 as the final stable build available, and you won’t receive beta updates for versions like iOS 17.1 or iPadOS 17.1 betas. However, when iOS 17.1 final and iPadOS 17.1 final are released, you will receive those.
If you are already running a beta version of iOS 17 or iPadOS 17, it’s advisable to wait until a final stable build becomes available before disabling beta updates. Otherwise, you might remain on an early beta build, such as iOS 17.1 beta 1. Once the beta testing period concludes, you can choose to opt out of beta updates again and stick with stable builds.
Unlike earlier iOS versions, you no longer need to remove the beta profile on the latest versions of iOS and iPadOS to leave the beta program.
Step-by-Step Guide to Removing the iOS 17 Beta
Follow these steps to remove the iOS 17 beta profile from your device:
- Backup Your Data: Before making any changes, it’s essential to back up your device’s data to ensure that none of your valuable information is lost during the process. You can use iCloud or iTunes for this purpose.
- Access the Settings App: Open the “Settings” app on your iPhone or iPad.
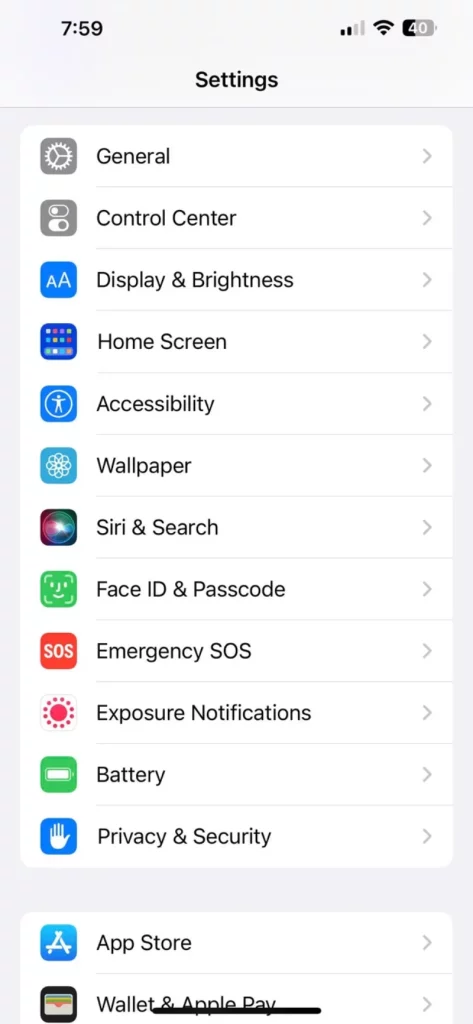
- Navigate to “General”: Scroll down and tap on “General” in the list of options.
- Select “Profile”: Look for the “Profile” option and tap on it. If you don’t see this option, it means there is no beta profile installed, and you can skip to the next step.
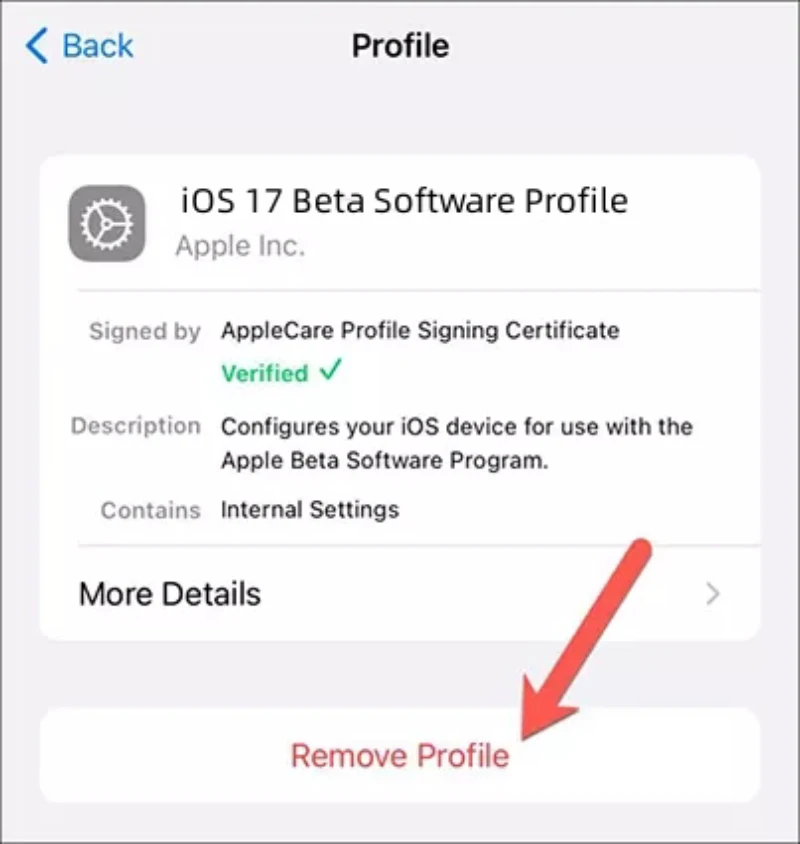
- Remove the Beta Profile: If you have the beta profile installed, tap on it to access the profile details, and then select “Remove Profile.” Confirm your choice when prompted.
- Enter Your Passcode: You may need to enter your device’s passcode to complete the removal process.
- Reboot Your Device: After removing the beta profile, restart your device. This step is crucial to ensure that your device fully exits the beta program.
- Check for Updates: Once your device reboots, go back to the “Settings” app, tap on “General,” and select “Software Update.” Your device should now check for the latest stable iOS version.
- Install the Stable iOS Version: If a stable version is available, you’ll have the option to install it. Follow the on-screen instructions to proceed.
- Restore Your Backup: After installing the stable iOS version, you can restore your data from the backup you created in step 1. This will bring back your apps, settings, and personal data.
Conclusion
Removing the iOS 17 beta and returning to the stable version of iOS is a straightforward process that ensures a more reliable and user-friendly tool on your iPhone or iPad. Just remember to back up your data before making any changes, as this will help you avoid any potential data loss during the transition. Enjoy the stability and performance of the stable iOS release on your device!